
While there are more plugins for Chrome than you could ever need, there’s only ONE you need for SEO-ing your blog. Stylish is a plugin developed by userstyles.org – it basically allows you to customise any webpage you’re viewing within your browser. Say you wanted a hot-pink Facebook dash, or a Starry Night themed YouTube – Stylish can help you do that if you feel the need.
Fun functions aside, Stylish is an incredibly handy SEO tool that allows you to see the heading styles used on pages you visit. Why? Heading structure is a large SEO ranking factor, and using them correctly will help your blog posts quickly boost rankings. Stylish helps you identify the heading styles used within your blog’s theme or individual posts by marking them with a small, coloured tag. It’s easy to turn on and off in a flash, but also can be fun to snoop on other sites and see how they’re set up – we like to call it competitor analysis.
Every member of the bloggersSEO staff has Stylish switched on All. The. Time. We regularly demonstrate and refer to it in our live sessions, and help our members set it up for themselves – so we’ve put together this handy guide to help you do the same.
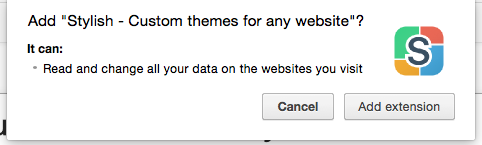
To install stylish, you’ll need to open a new Google Chrome window – if you haven’t got Chrome, you can install it here. Then, visit Stylish’s page on the Chrome Web Store – click ‘Add to Chrome’, then ‘Add Extension’ in the pop-up.

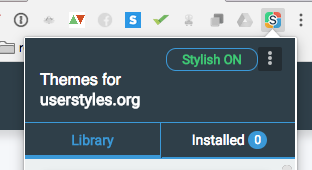
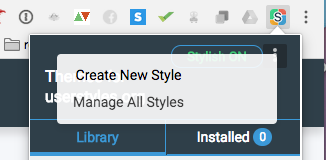
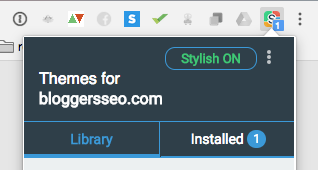
Now Stylish is installed, it’s time to set up the Heading tags function. You’ll find the Stylish icon is now in the top right-hand corner of your browser – click the ‘S’ icon, and then the three dots in the right-hand corner of the drop-down. Click ‘Manage All Styles’.
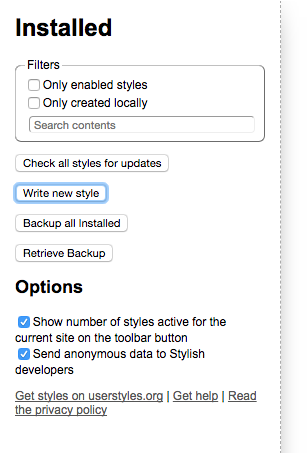
Here you’re able to ‘create’ the Stylish settings – click ‘Write New Style’ in the left-hand panel to get started.
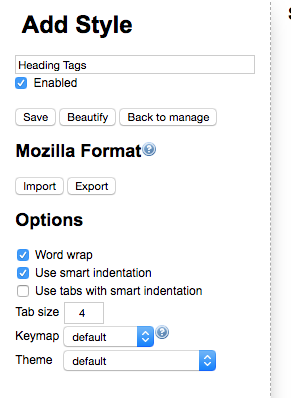
Next, name your style – choose something easy to remember, such as ‘Heading Tags’. This will open up a box for you to enter the code – copy it exactly from here into the empty space.
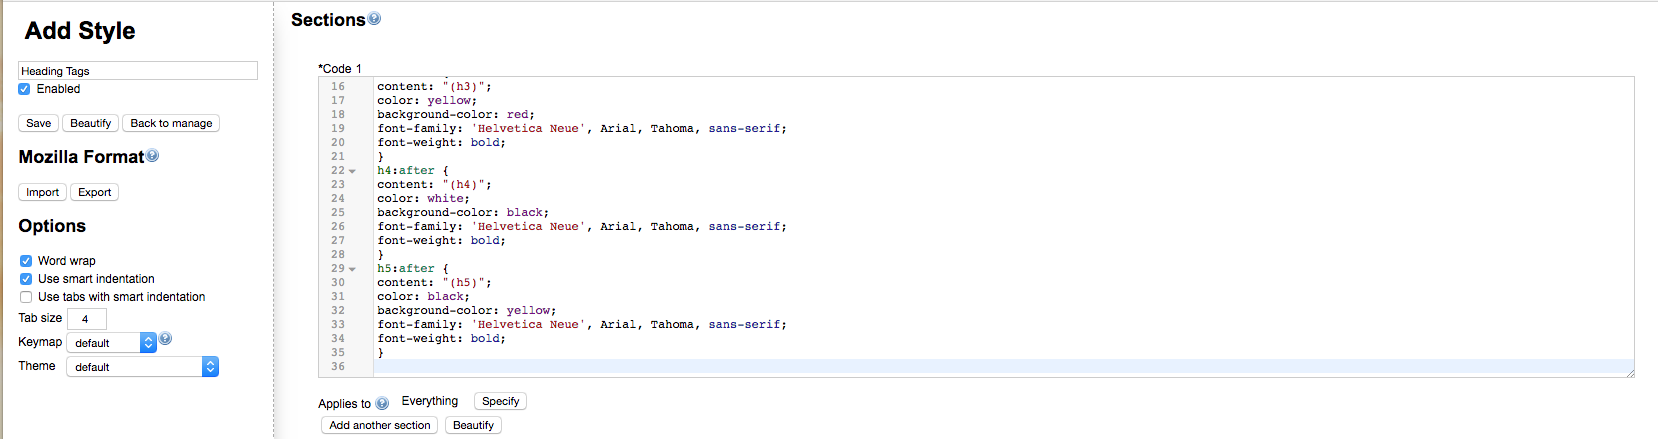
Underneath, you’re able to choose whether you’d like your Stylish to apply to a single website, multiple sites, or have it running all the time – it takes one click to turn it on and off, so we prefer to not add any parameters. Hit ‘Save’ under where you named your style, and you’re done!
Now all you need to do to turn on (or off) Stylish is head over to the top right corner of your browser, and click the ‘S’ icon again – it’s that easy!
Did Stylish reveal something interesting (or shocking) on your blog? Share your adventures with the tool in bloggersSEO Support.
![]()