
Heatmaps utilise tracking technology to collect data on how your audience behaves on your site. It is a unique way to represent navigation on your site, moving beyond simple data sets by creating a detailed image. Hotjar’s heatmaps create an infrared style layer for your website that indicates ‘hot’ spots. Each time a user clicks a certain area of your site – whether it’s the home button, ‘next post’ link, search bar, checkout button or ANYTHING on your blog, that action is recorded. Each click or action on a certain spot compounds, and adds value – represented on a colour scale from dark blue (‘cool’, less activity) to vibrant yellow (‘hot’, with high activity). There is a range of heatmap functionalities within Hotjar, including clicks, motions and scrolling.
Hotjar Recordings are literal video recordings of a user’s time on your site. They’re an amazing way to see the REAL experience users have – are they getting stuck navigating your menu, struggling to find the checkout button or scrolling to find more content? Recordings are a great compliment to your heatmaps, as they allow you to further breakdown audience behaviour through real experiences, and see why certain hotspots occur.
Hotjar is available at both free & premium levels – the free version is perfectly fine for your small to medium blogs, and those just beginning their audience mapping journeys.
1. Create your account
First, sign up for a free Hotjar account. You’ll be asked for your name and email, choose a password, and then a little more about yourself – your role in the company – choose which one best suits you (we recommend store owner or other, although these have no effect on your account & usage), whether you’ll use the account to manage clients (unless you’re managing other sites, you can click no), and your company name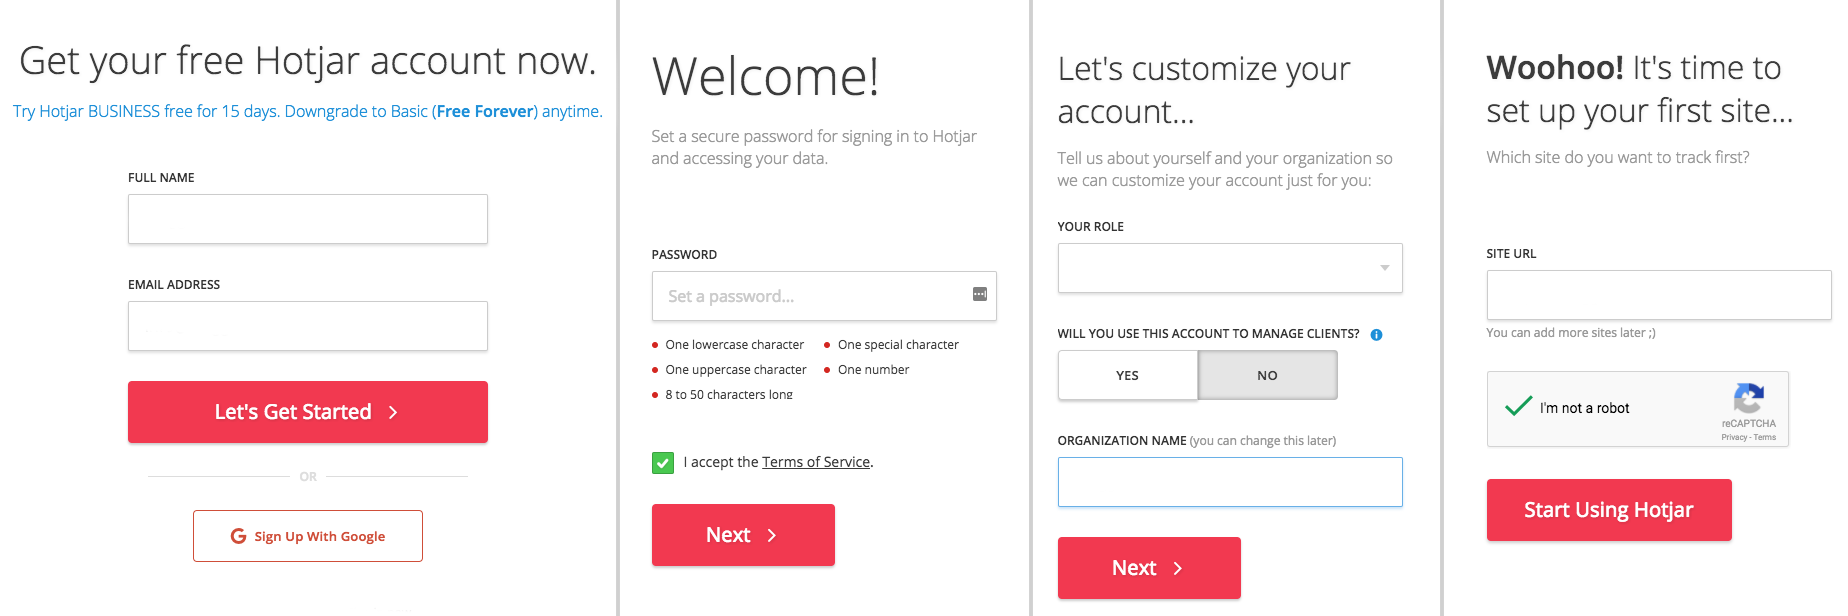
2. Quick Configuration
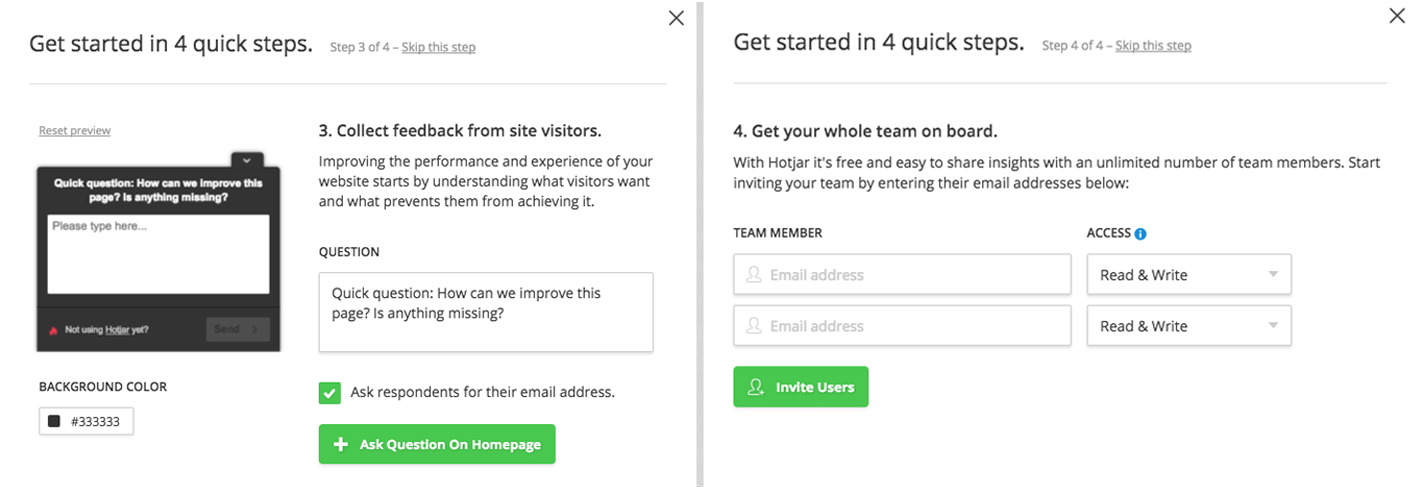
Once your account is active, you’ll receive 4 prompts that will start the setup process in only a few clicks. Accept the first two prompts – ‘Record Site Visitors’ and ‘Create Heatmap’. If the prompts are unavailable or you skip through, keep reading on how to create these yourself. The last prompt options are ‘Collect Feedback from Site Visitors’ which allows you to ask your real audience questions about their experience on your site, and ‘Invite Users’ which allows you to share your Hotjar data with others (much like Google Search Console) – decide whether these options are right for you.

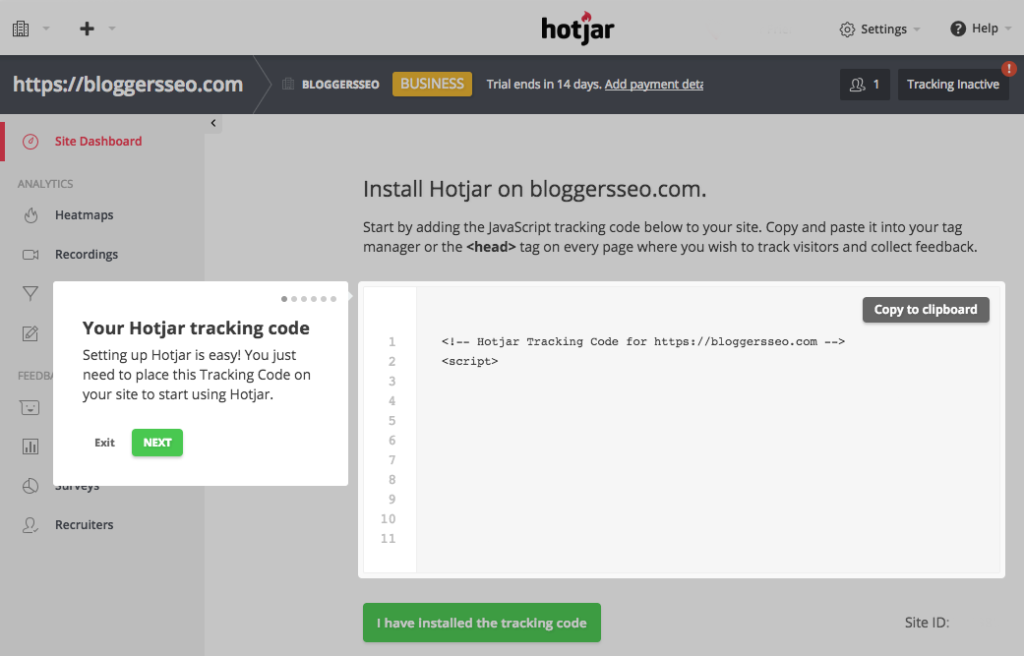
3. Find your tracking code
Next, Hotjar does all the heavy lifting for you! Your tracking code will instantly appear on the screen. Copy the entire piece of script, and follow Hotjar’s installation guide for your CMS here.
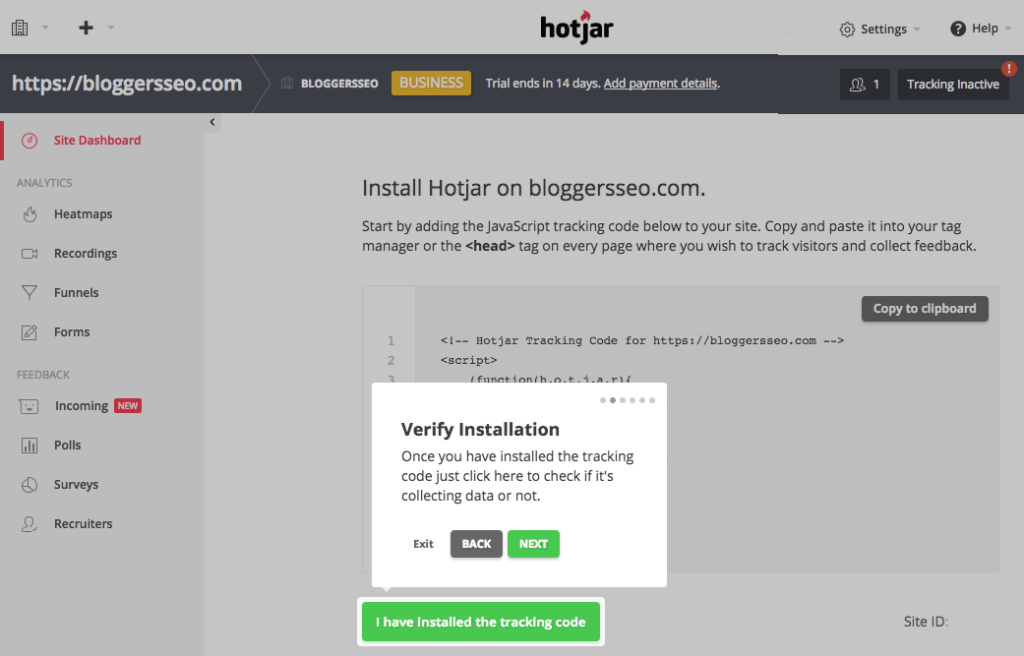
6. Verify installation
Once you’ve placed the code on your site, head back to your Hotjar tab and click ‘I Have Installed the Tracking Code’ – Hotjar will then check your code is functioning and ready to collect data.
Then, you’ll need to verify the code – in your Site Dashboard, enter your URL into the box provided and click ‘Verify Installation’ – if everything’s correct, a new window or tab will open with your site, and a blue ‘Hotjar Installation Verified’ message in the top left.
Setting up Hotjar Heatmap
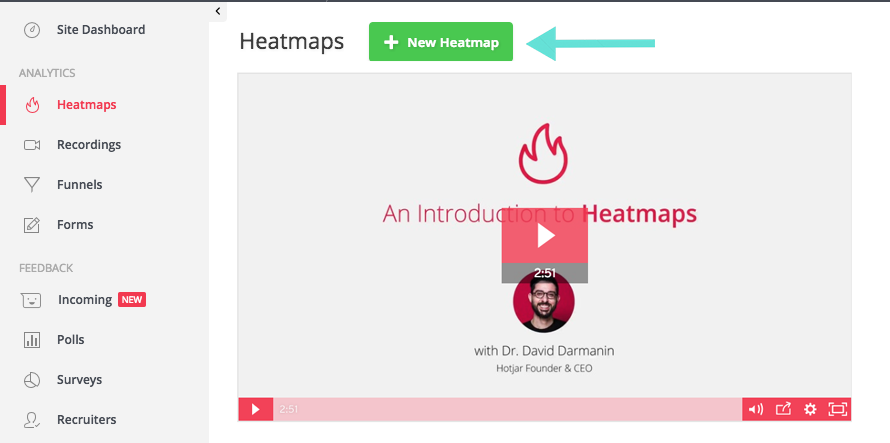
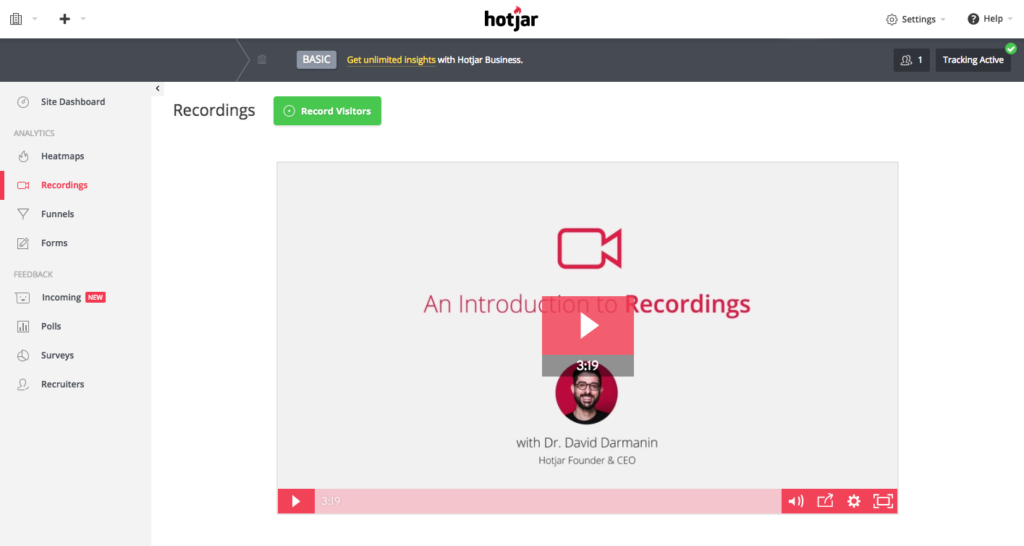
Open your Heatmaps dashboard by clicking ‘Heatmaps’ in the left-hand menu – once you’ve got heatmaps set up, you’ll be able to view them all here. Hotjar has included an introduction to heatmaps video here to help you further understand their purpose.
To create a heatmap, click the ‘New Heatmap button’.
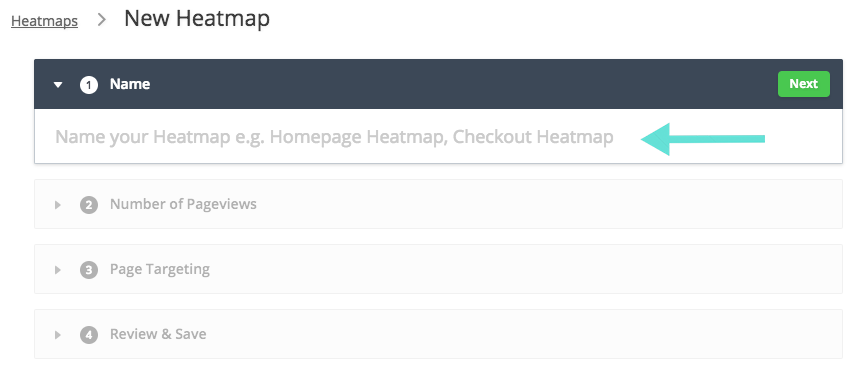
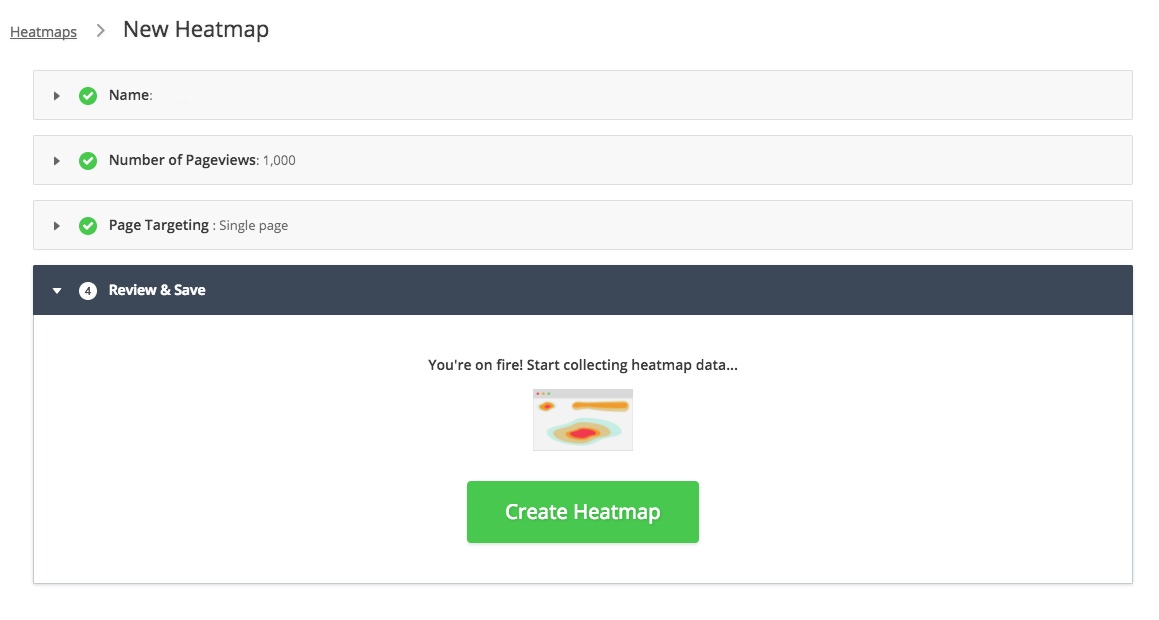
Now, name your heatmap – you may want to include the setup information for easy navigation – such as ‘Home page, 2,000 views’. This heatmap is listed under your blog’s install, so there’s no need to include your blog name – unless you want to!
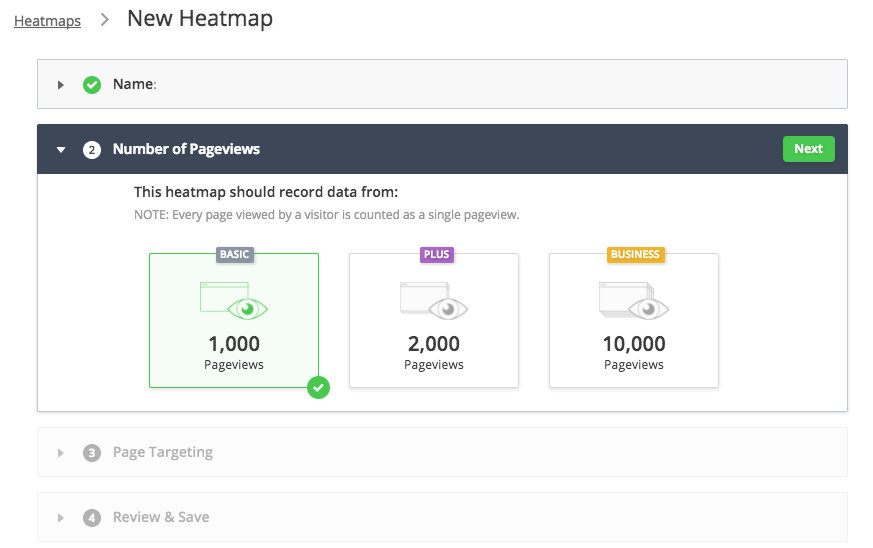
If you’re using the free version of Hotjar, you’ll only be able to record data for 1,000 pageviews per heatmap- consider the views your blog gets, and whether this is a suitable representation of your audience.
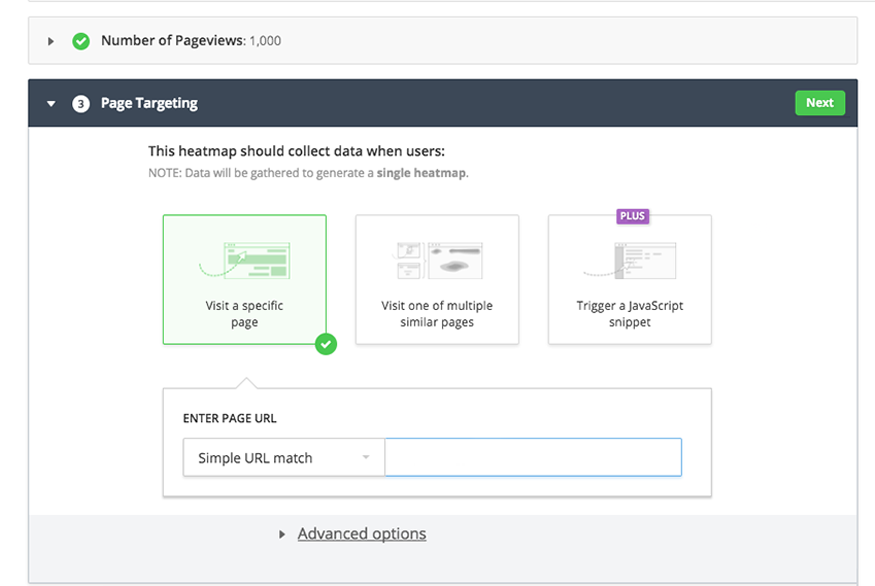
Next, choose which page you’d like the heatmap to generate for – such as your homepage or checkout page. Make sure you enter the CORRECT address in the space provided – whether you use HTTP or HTTPS, or WWW.
 Create that heatmap! It will start generating data as soon as visitors are on your site.
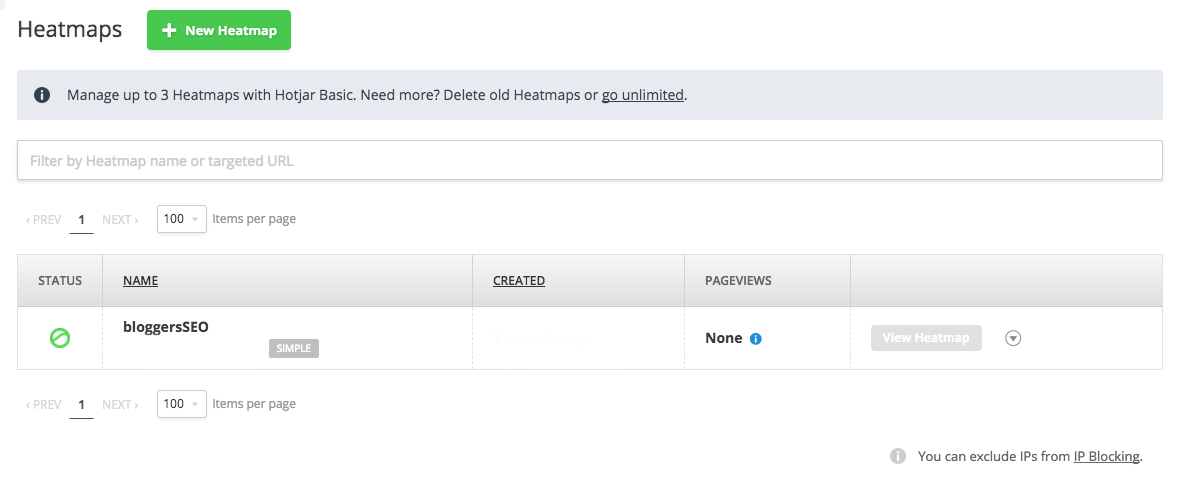
Viewing heatmaps
To view current and previous heatmaps at any time, select ‘Heatmaps’ from the left-hand menu. You’ll see each of your heatmaps with performance data. This is where individually naming each heatmap makes it easier to navigate your data.
Creating a Hotjar Recordings
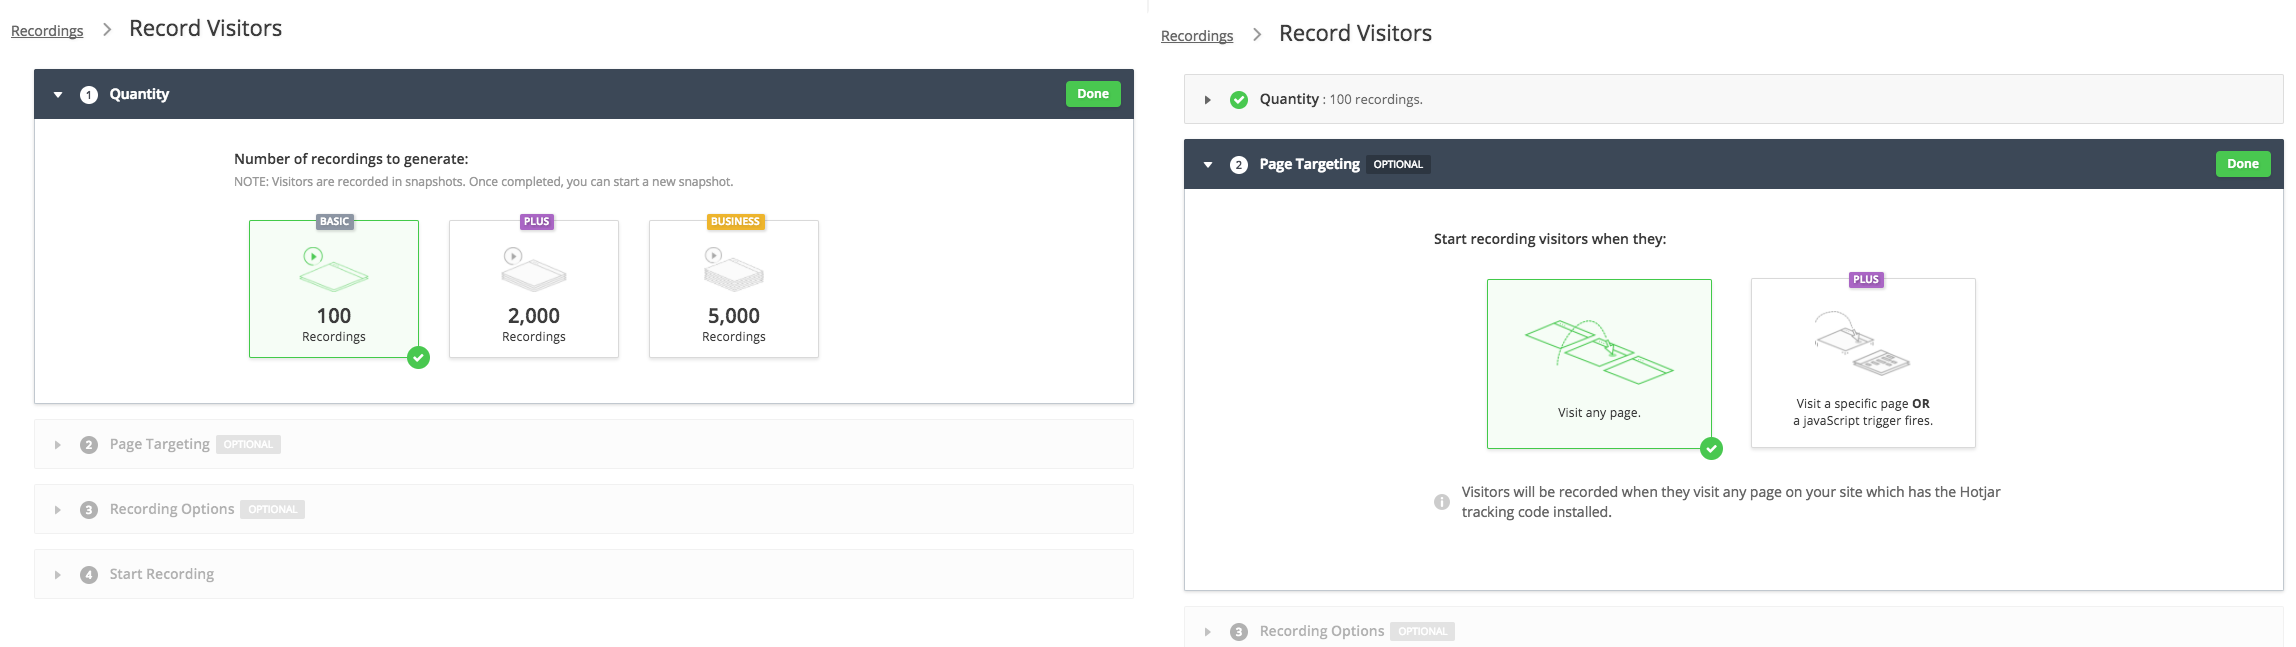
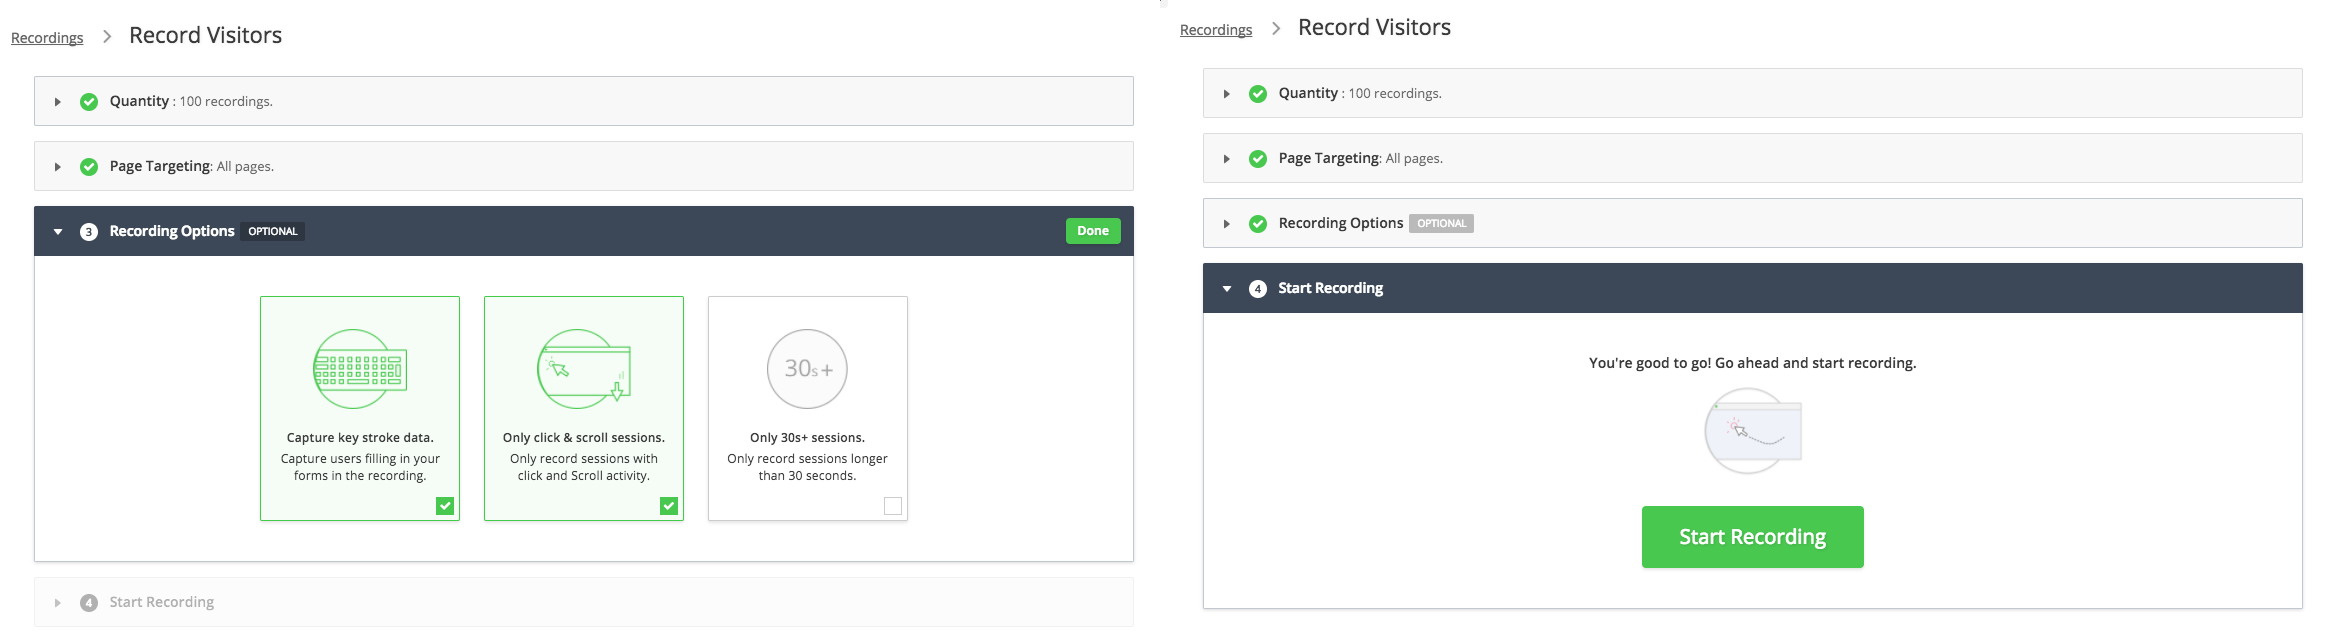
click ‘Recordings’ in the Hotjar side menu, then ‘New Recordings’. You’ll then receive three options – the number of user sessions you wish to record (limited to 100 on free accounts), the pages you want to record (specific, or all,) the behaviour you’d like to trigger a recording (keystrokes, clicks & scrolls, or session duration).
Back in your ‘Recordings’ tab, you’ll be able to see any recordings you’ve created. You can sort these recordings by a number of filters on the right-hand side, such as the record date, landing & exit pages, or session duration.
And you’re done! Now it’s time to sit tight and be patient and let Hotjar do all the hard work for you. Check back in a couple of days to see your very first recordings & heat maps – what results do you predict you’ll see?