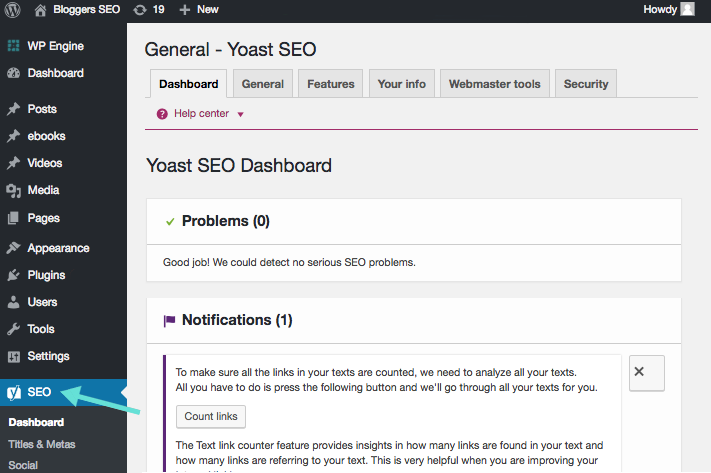
Log in to your WordPress backend, and select ‘Plugins’ from the left-hand menu, and ‘Add New’. Then, search for ‘Yoast’ in the search bar on the right. Look for the plugin called ‘Yoast SEO’ (created by Team Yoast) and click ‘Install’

It’s THAT simple! Now, Yoast is up and running and ready for you to optimise your blog! You can find it over in the left-hand menu, under ‘SEO’, with a range of functions.

Setting up Yoast correctly can be tricky unless you’ve got the complete guide. Lucky for you, we’ve created just that! Take a peek at SEO Superheroes to get the lowdown on Yoast configuration.
