
Let’s face it. When it comes to creating an awesome blog, great writing just isn’t enough. You also need outstanding images! We live in a visual world, and creating eye-catching images is an essential part of blogging.
But you don’t need to invest in expensive design software or get an art degree to create fabulous graphics for your blog. I’m going to show you how anyone can be a designer using Canva–a free, web-based design program.
To get started, you’ll need to create a Canva account! You can sign up for your FREE Canva account in a matter of seconds! Canva also offers a premium version, called Canva for Work (or downgrade) at any time for just $12.95USD a month. All steps in this tutorial can be done in your free Canva account, but we also highlight the features of a paid account.
Creating Your Brand Palette
Canva allows you to add a range of brand colours to your account, so they’re easily accessible when creating your designs. To add your colours, head to the ‘Your Brand‘ tab in the left-hand menu.
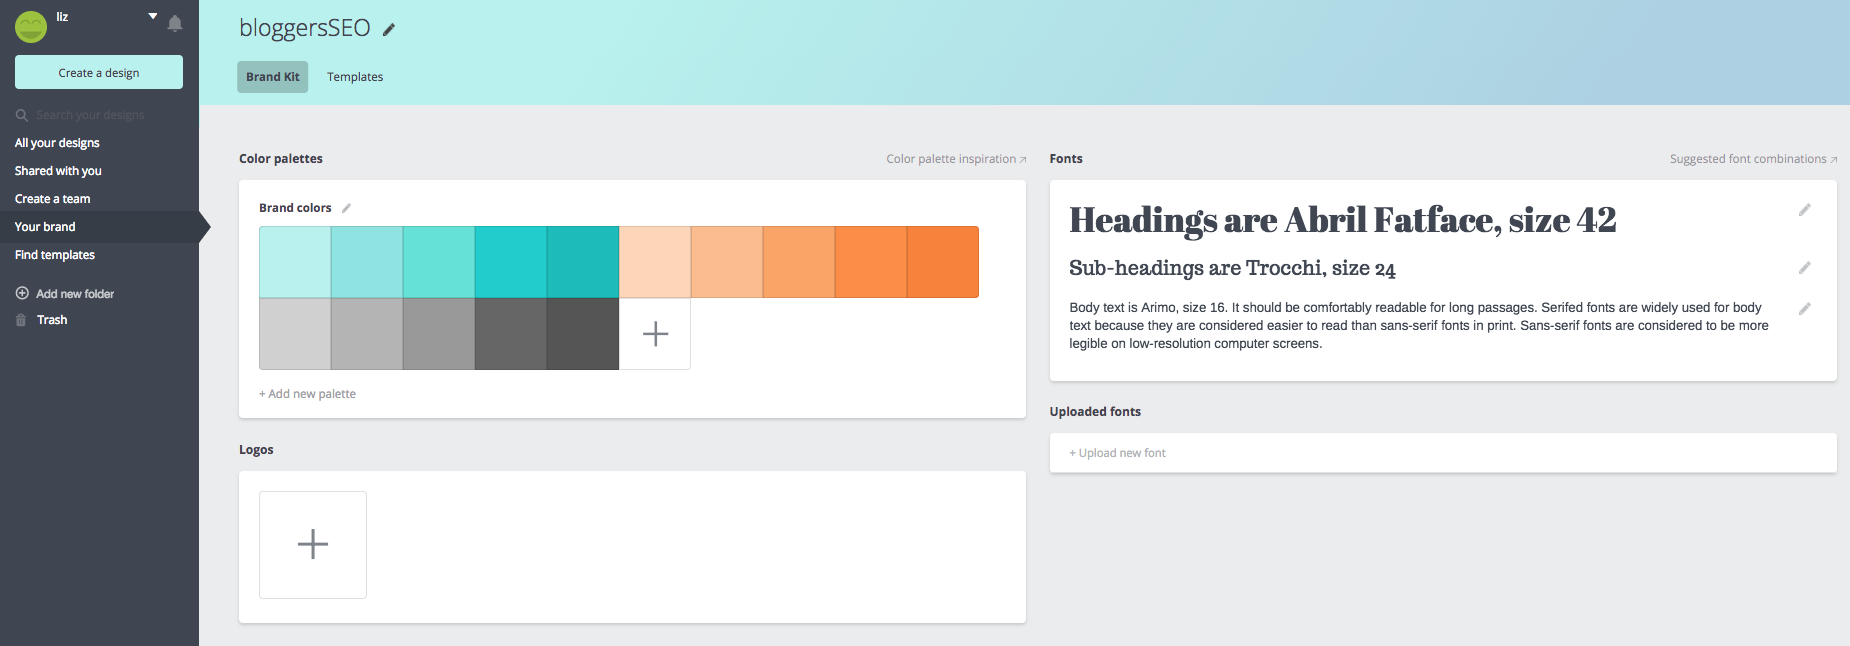 With a free account, you’ll only be able to edit the ‘Brand Colours’ section in this tab. Your free account allows you to add up to three brand colours, while a paid account allows for unlimited colours.
First, you’ll want to remove any auto-generated colours – hover over a colour and select the ‘X’ in the right-hand corner to remove. To add your colours, simply click the plus button! This will bring up a colour wheel for you to choose colours, or you can simply enter the ‘Hex Code’ for your colours – the 6 digit code used by screens and devices to generate colours. For example, our darkest blue is #00BBBC. If you’ve taken our class with Emily on creating your blog’s style, you should have a selection of colours ready to go!
Creating Your Designs
Let’s get started! In the top left corner of your screen, you’ll see a ‘Create A Design’ button – click this to reveal Canva’s full range of pre-sized image templates. Here, you’ll find the perfect dimensions for almost ANY image you’ll need to run a successful blog. Here, you’ll find pre-made templates for Pinterest, Facebook and Instagram and physical items like CDs, brochures and posters – but the list doesn’t stop there.
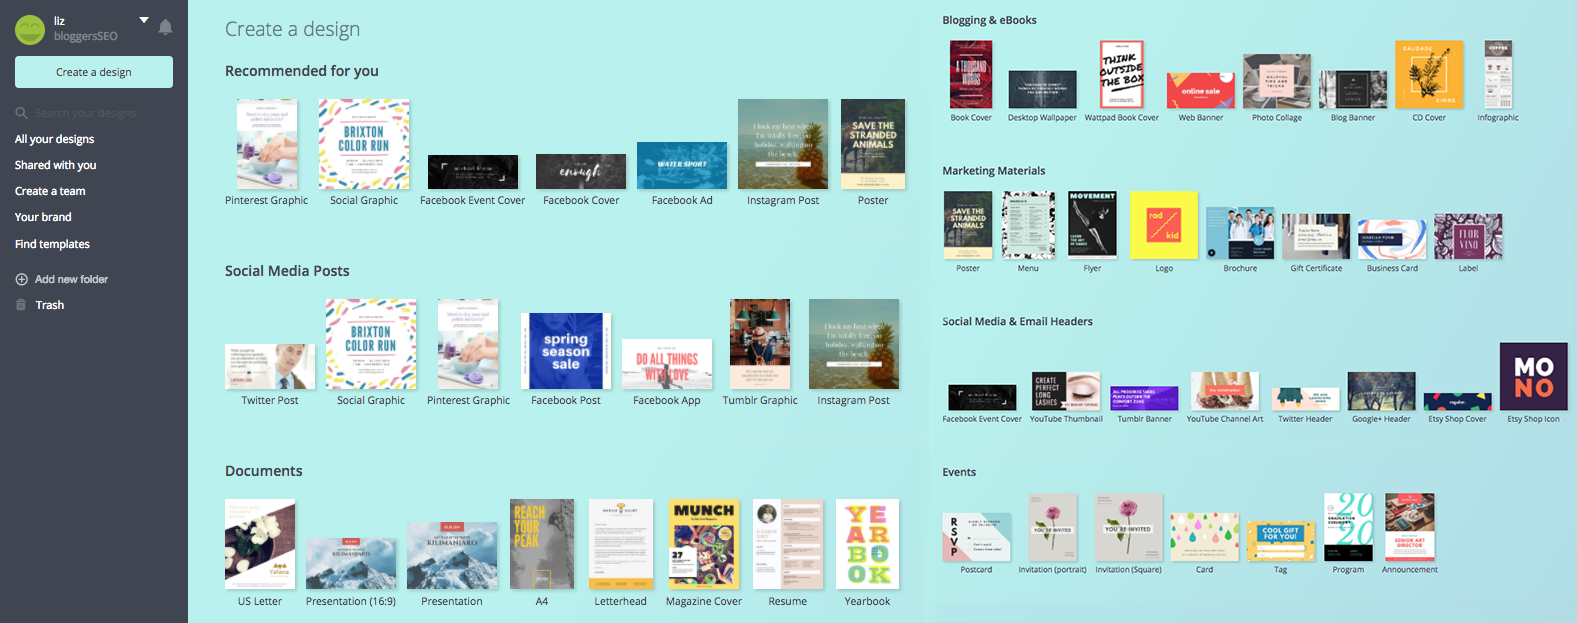 **Note: your Canva screen will look a little different – we’ve condensed the options here into two rows so you can easily see how many are available!
Selecting a Design Template
Now you’ve got your very first template, it’s time to spice it up a little! You’ll start off with a blank space, where you can easily add a range of pre-created images, icons and designs – or, upload your own!
Canva will automatically show the ‘Layouts’ tab in the left-hand menu. Here, you’ll find a large selection of entirely customisable design templates. Scroll down through their (almost) endless options and pick one that appeals to you most.
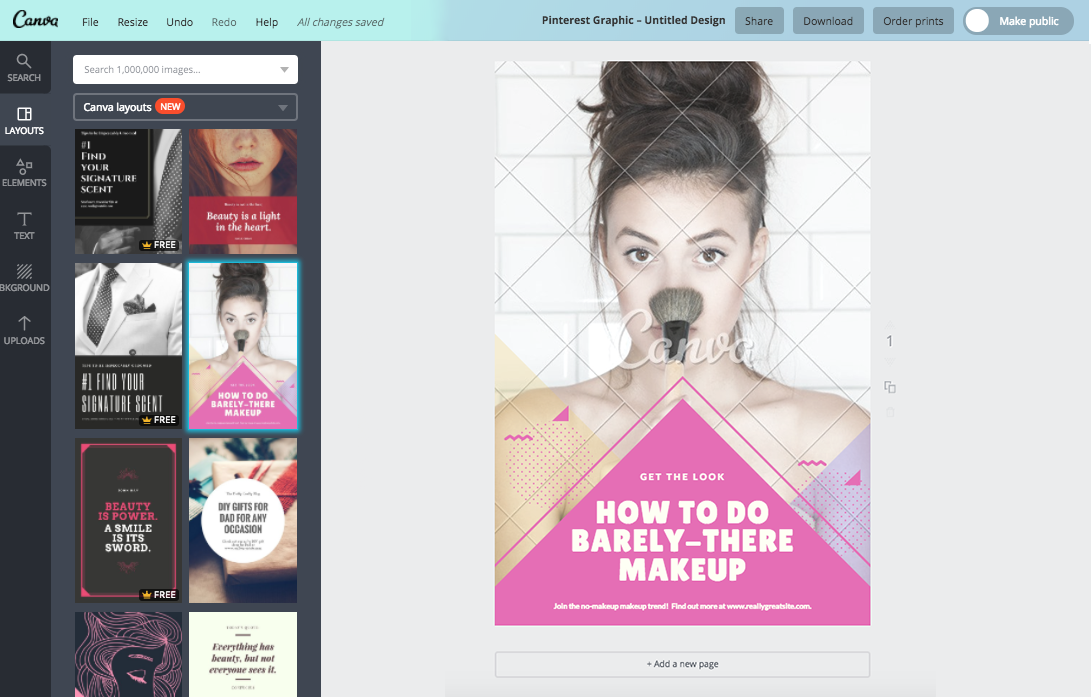 **Note: You’ll notice certain elements have a grey criss-cross design on them – these need to be paid for, or can be easily replaced with free options!
Customising Your Template
Now you’ve selected a design that roughly suits your needs, it’s time to get customising! You can edit any of the elements in your template – such as colours, fonts, transparencies and sizes.
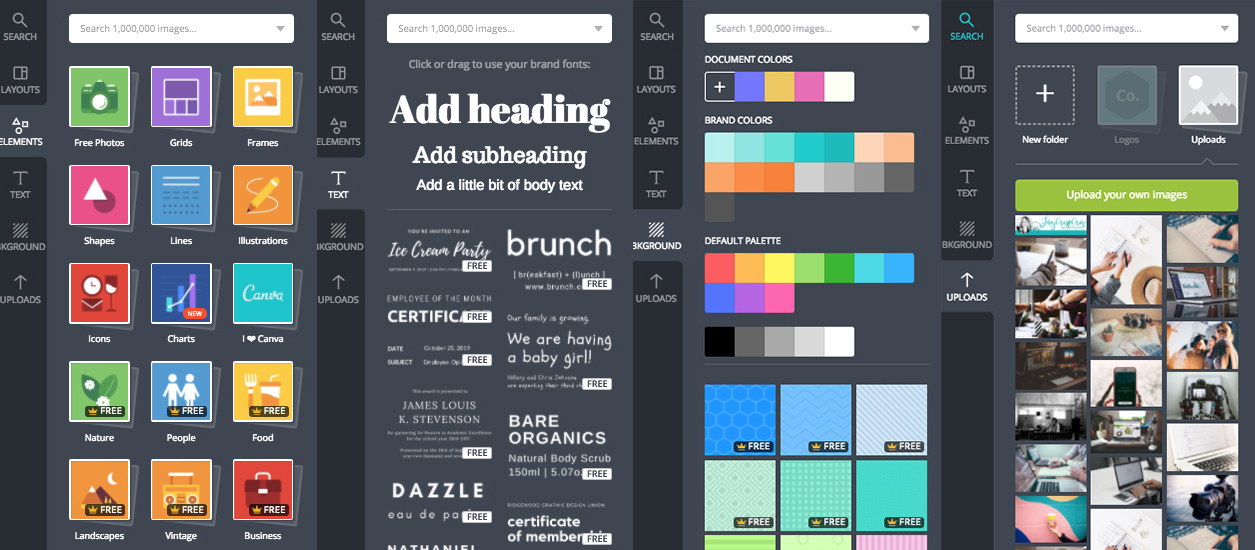
In the left-hand menu, you’ll see tabs for ‘Elements’, ‘Text’, ‘Background’ and ‘Uploads’ – in the first three you’ll find a range of free and paid elements. If you’d like to add your own, head to the ‘Uploads’ tab and simply drag and drop them into the sidebar – they’ll stay here until you remove them!
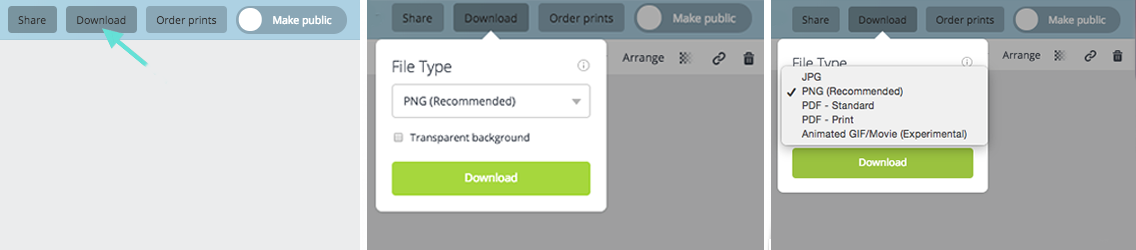
Downloading Your Image
Canva has made it incredibly easy for you to download and share your images once they’re looking snazzy. To export your image, simply click the ‘Download’ button in the top right-hand corner. Depending on what template you originally chose, Canva will choose a default image setting – Pinterest & social media images default as .PNG, but you can easily change to .JPEG, PDFs (standard quality, and for print) or GIFs! You can also ‘Share’ your designs and invite others to edit them before downloading!
Creating A Custom-Sized Image
Not everything is as ‘drag and drop’ as we’d always like, and luckily Canva is able to create images for ANY size space. In the ‘Create A Design’ tab, you’ll see a ‘Use Custom Dimensions’ button riiiiiiight over in the top right-hand corner. Click this to enter in any dimensions or aspect ratio you need – whether it’s in pixels, millimetres or inches!

How did you go? Why not share your first Canva design with us? We’d LOVE to see what you created!